|
Virgo Offline Hajj Manual
|
|
|
Virgo Offline Hajj Manual
Add Hotels Data From Virgo Offline main window choose from upper menu (Input > Hotels) Fill Up all needed hotels data then click Add You can also Browse, Delete or Modify previously added hotels
Create Hajj Group choose Hajj from
or from the enterface click on create hajj group Put Group Name, Group default fields (Travel Date, Arrival Date, Departure Date) and hotels data then click Add Note we advice to set Group Name according to its package for more help in group filtering
then Back to Contents box, Click New Passport to insert passports
Read passport with Passport Scanner Note fill up Passport Card with all details that needed same as E-Hajj Portal web services site requirement Click Change Picture to add pilgrim photo Note E-HaJ Portal Accepted File Types :jpeg, jpg, gif, png. (Max : 20KB per File) As well Virgo Offline will automatically adjust photo size Note check the absence of any watermark on the image to prevent any possibility of rejection from the Consulate Click Import from File to add soft copy (JPG File) or click Import from Scanner to scan hard copy then determine the appear area and click Crop to save picture
Note you can choose Scanner type and Resolution from Settings
After picture added click Add to store passport or click (Modify, Delete, New) to edit stored passports Note to open old stored Group click Find(F3) then search and choose the group then click OK
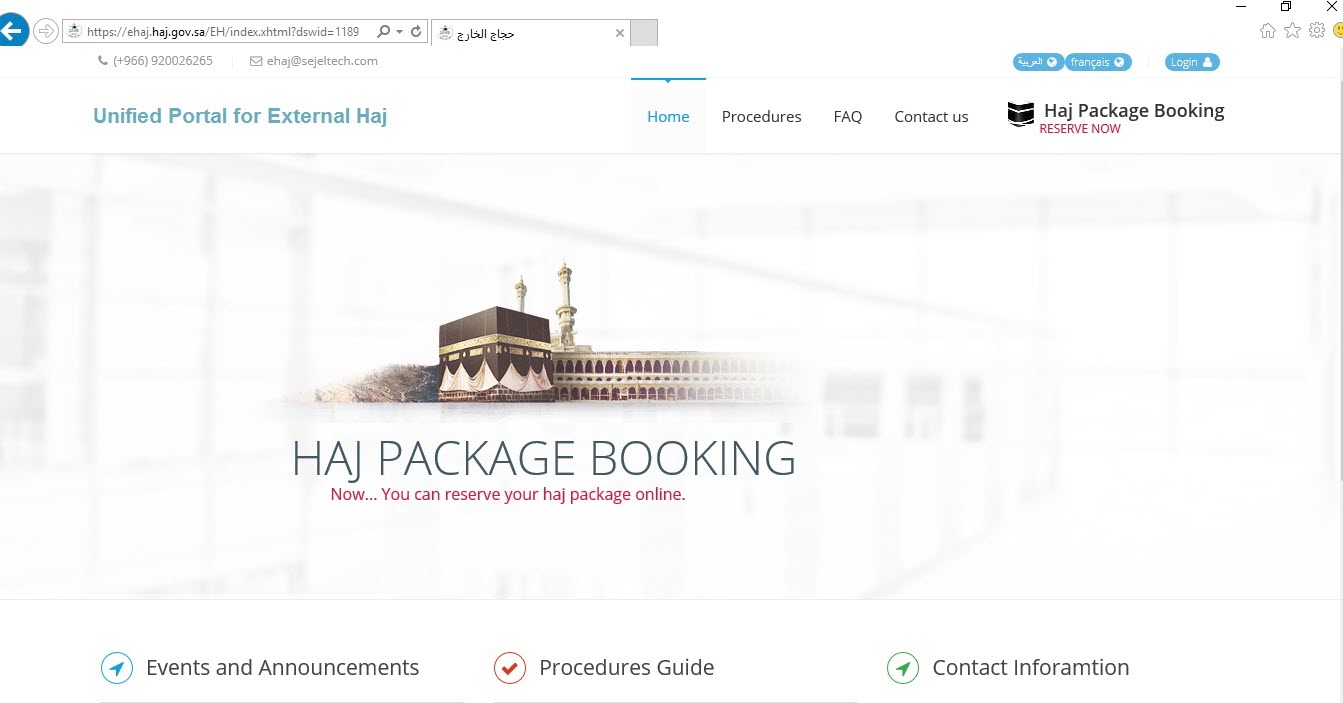
Define E-Hajj Portal Embassy Quota Open Ministry of Hajj (E-Hajj Portal) site and
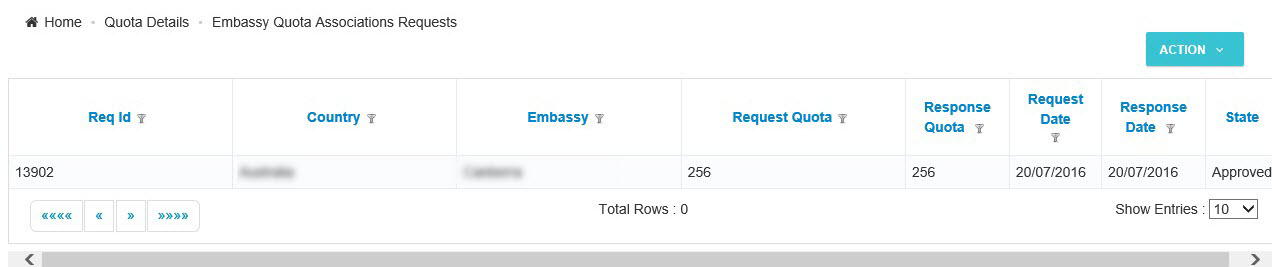
Enter to Home box and from Quota Details choose Embassy Quota Associations Requests
From Action Menu, select Add
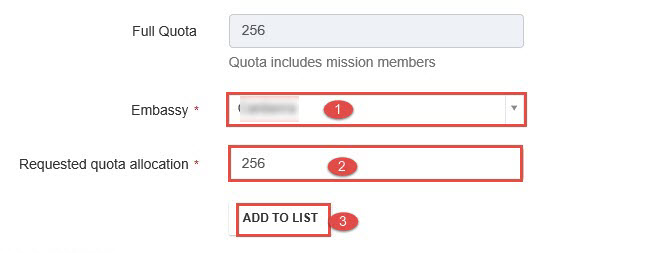
Define Embassy and Requested quota allocation Then click Add to List
After that, click on Submit
Send Group to E-Hajj Portal Note make sure Internet Explorer browser 11 was installed at your system
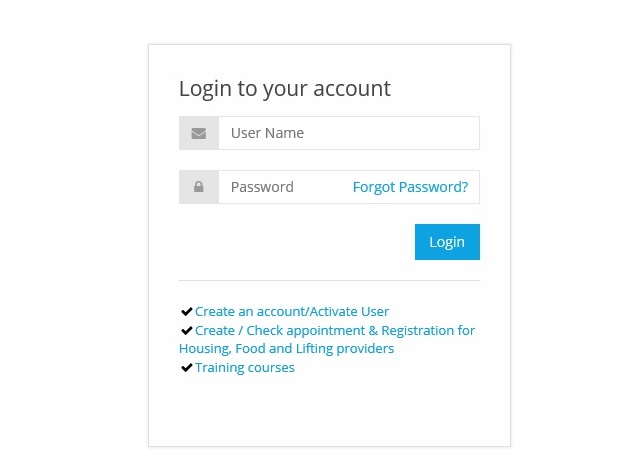
Open Ministry of Hajj (E-Hajj Portal) site at Internet Explorer browser 11 and login (User Name & Password)
Go to Haj Data And Groups box,choose Haj Data Details
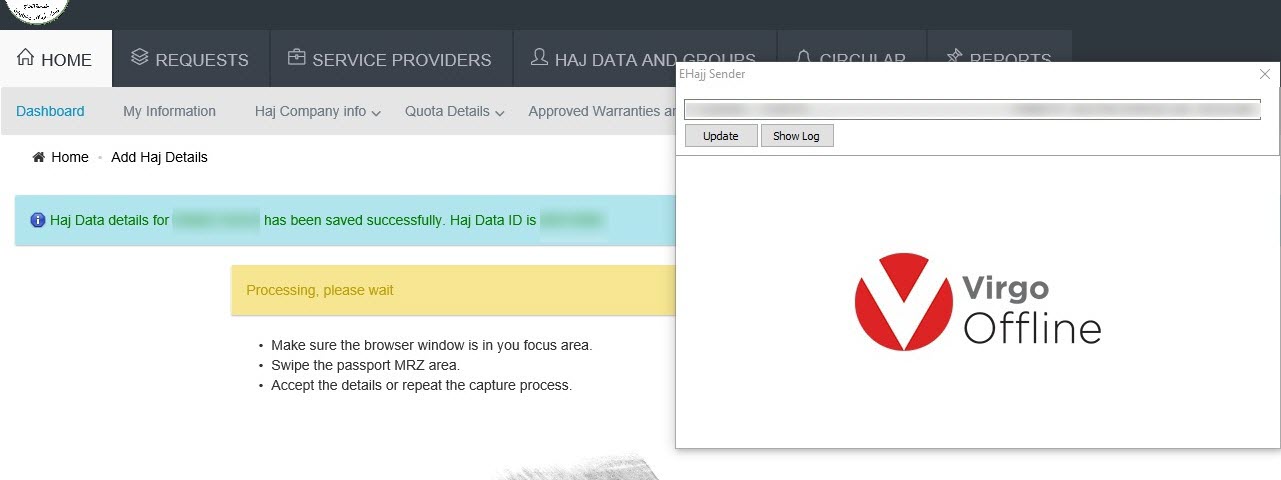
Note Be sure that date format is dd/mm/yyyy in your PC before sending to know how to change date format please follow this link At Group Card (Contents box) Select the passports to send and click on Send to EHajj
Note Be careful don't work on your PC to complete sending process successfully passports will automatically add one by one
Confirmation Message will appear “Selected passports have been sent.” click Ok and Close EHaj Sender Window all passports sent to E-Haj Portal and Hajj ID stored in group passports
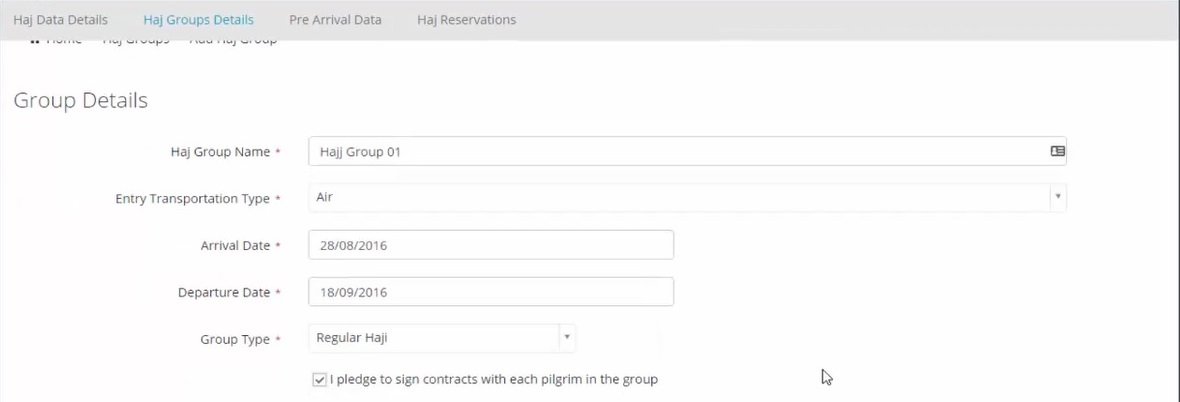
Send Pilgrims to MOFA at E-Hajj Portal Site From menu choose Haj Data and Groups Then Haj Groups Details
Click Action Then Add Haj Group
Fill Up Group Details and check in Pledge
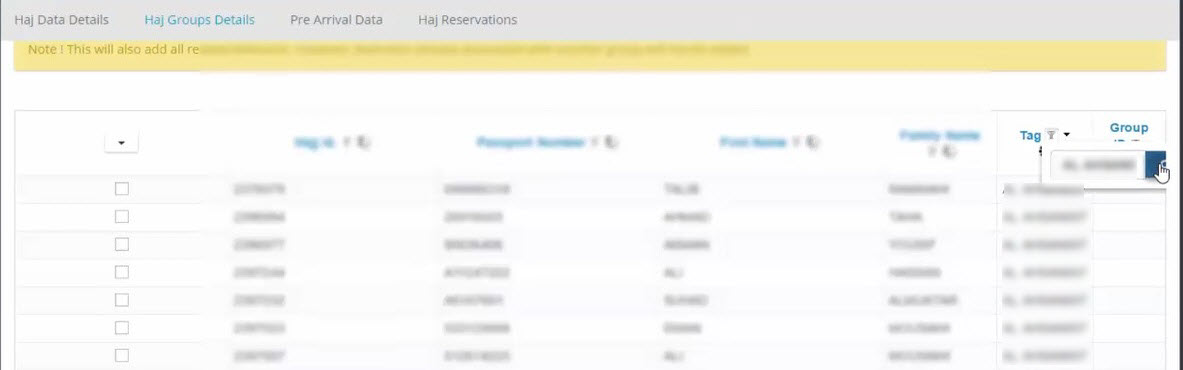
Filter Pilgrims by Group Enter group name in tag filter,and groups will fitered
choose Select All,then choose Pilgrims and Click Create and Continue
Note to check group details, back to Haj Groups Details window
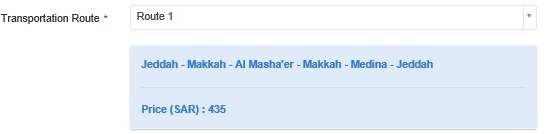
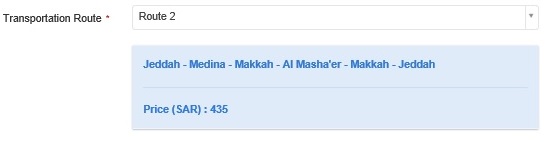
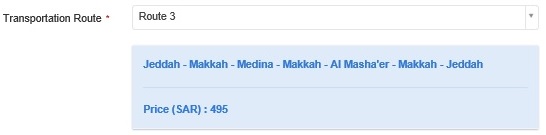
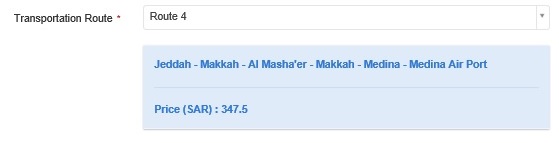
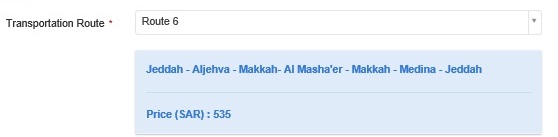
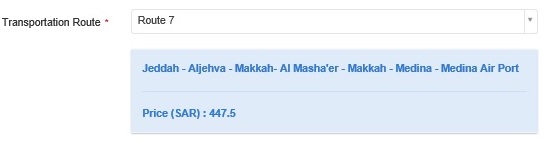
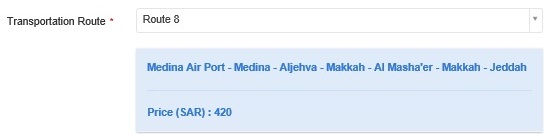
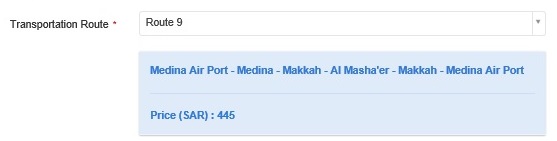
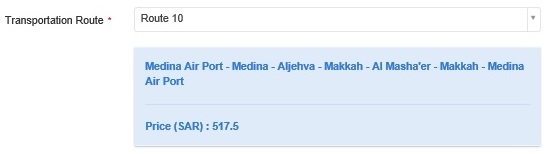
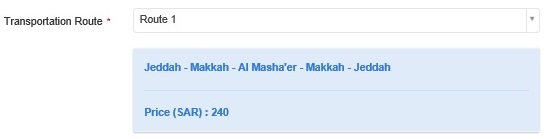
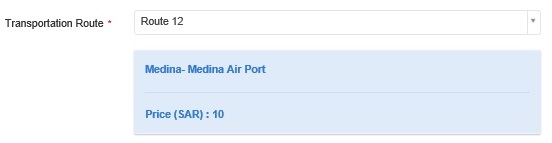
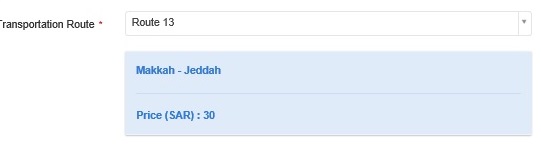
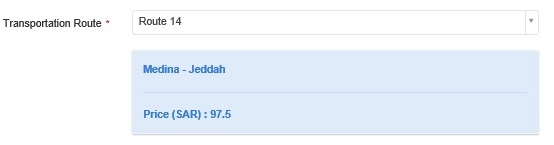
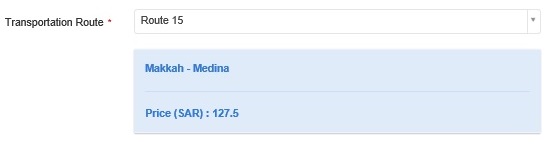
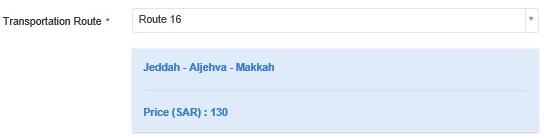
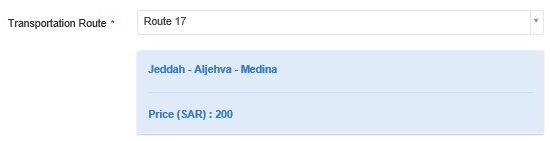
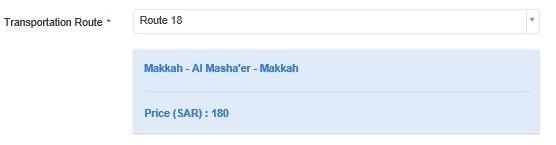
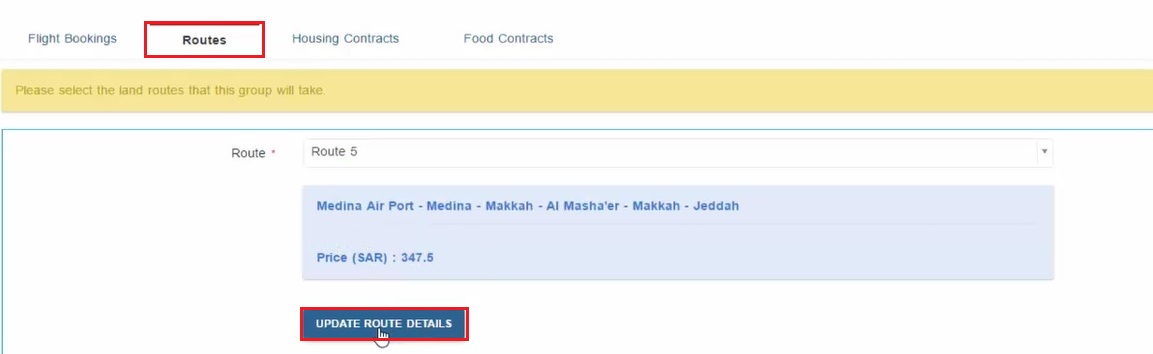
Click Routes and select one of the following Routes
then click Update Route Details
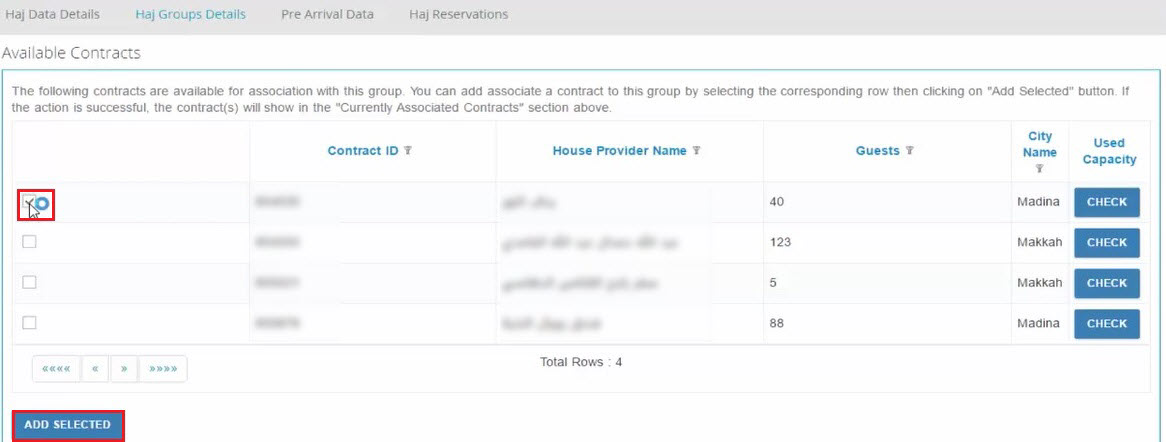
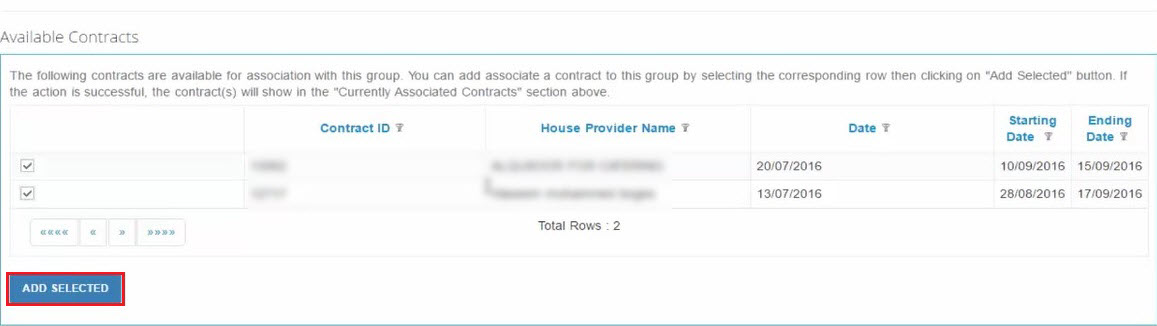
Click Housing Contracts then select House Provider and click Add Selected
Click Food Contracts then select Food Provider and click Add Selected
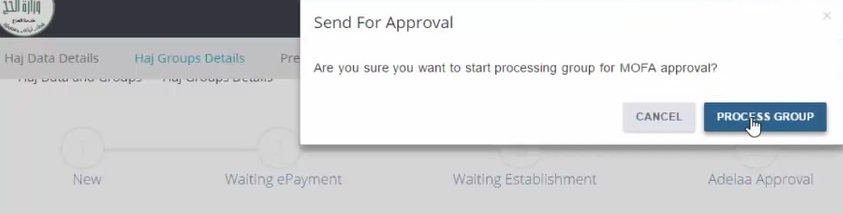
Back to Haj Groups Details choose Group and click Action Then Process Group
Make Refresh (F5)Then choose Group and click Action Then Generate Voucher
Make Refresh (F5) Then choose Group and click Action Then Make Payment
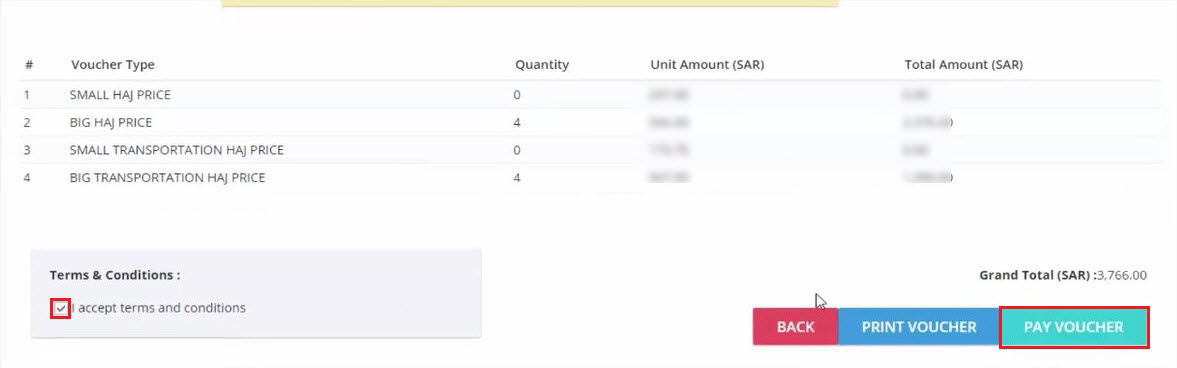
Check I accept terms and conditions then Click Pay Voucher
Group successfully sent and Waiting Establishment after some time will Approved
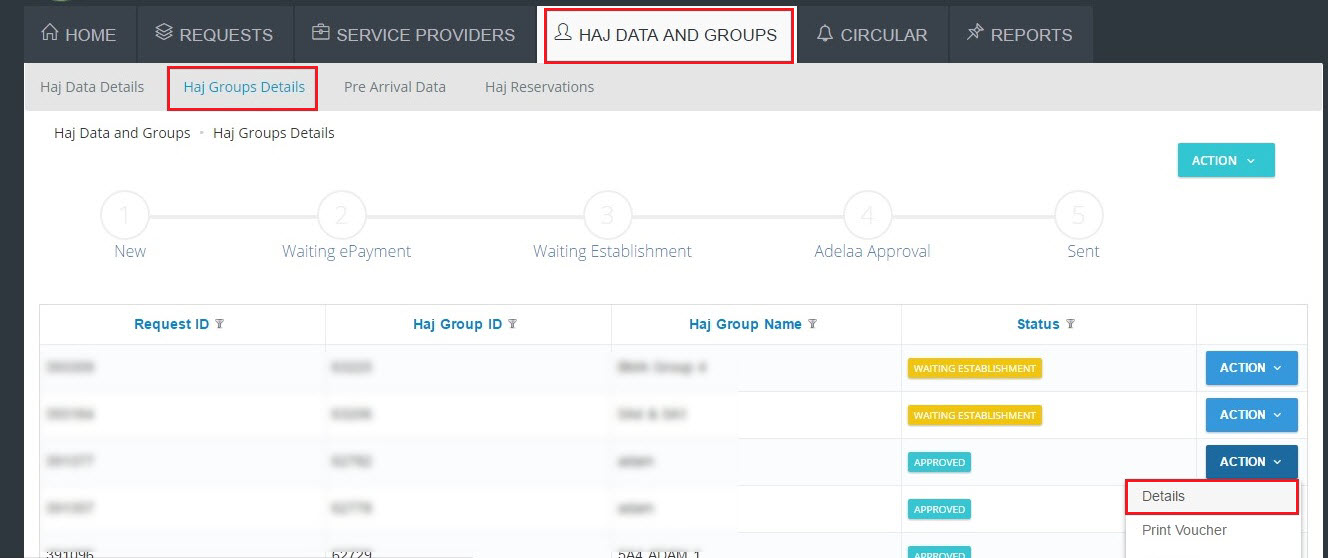
Get MOFA Numbers After group get approval ,you can get MOFA numbers to Virgo Offline by following these steps Log in Ministry of Haj site,From menu choose Haj Data and Groups Then Haj Groups Details
Open the desired group and click on Import MOFA MOFA numbers will appear in MOFA column automatically
Print Wristbands and ID Cards Click Hajj from upper menu and then click Case Card
Put Case Name then
click Insert Group and choose the group you want to add then click OK
Select the passports you need to print To print wristbands Choose from upper menu (Print > Print Wristbands)
To print ID Move to Pilgrim ID box Fill up all needed data (Makah hotel, Medina hotel, Supervisor Name,Supervisor Phone & Notes) then choose template ID Card and click Print Note software compatible with any Label Plastic ID Card printer
| |
|
|