|
Upload photos to MOFA
|
|
|
Upload photos to MOFA
Important notes to ensure the process successfully: 1. Be sure that your personal photos are new with a white background and don't contain any seals or symbols on the photo. 2. You can place your personal photos in the Photos folder of the program or choose the path of an external photo folder, so that the photos are named same as passport numbers, and the program automatically join the photos with the passport data within it. 3 - Don't worry about the processing and modification of photos manually, the Virgo automatically set and processing photos when sending and add a copy of the modified photos within the uploads folder after the download process in accordance with the standards of the Mofa site, so that the photo size is between 3 and 18 KB also dimensions under 200 pixels and JPG format. 4. The default folder path for the program is D:\Virgo\VirgoOffline1438\Photos
To know how to edit pilgrims’ or Mutamers photos follow this link In order to upload photos, you need username & password of MOFA to be entered in Contract window in Virgo Offline. To learn how to set contract data can be found through the following link
The process of uploading photos to Mofa site and get a E-number in two ways within Virgo Offline: Method 1: Used to upload photos to more than group at the same time within Case Card Note : You should be sure of add the username and password special of Mofa site within the contract data In main window choose from upper menu (Umrah > Case Card)
We create new Case and set name for it Then right click the grid and choose Insert Group or you can Insert passport if needed
Or are selected through the following ways:
Are selected the passports to upload photos pilgrims’ or Mutamers then click Add to save the Case Card
Message box will appear, asking to upload Photos click yes “Do you want to open upload photos?”
Note: in the case of the case is already saved, you can enter to upload photo window directly by clicking on Upload Photos as shown
Photos Upload window will appear Choose the right contract and which containing the username and password of Mofa site also type Photo Code then click Login Note: You must wait for 30 seconds before starting the process to make sure login to Mofa site successfully. If you aren't logged in, please verify username and password by logging to Mofa site. https://visa.mofa.gov.sa/account/login/omra
Then choose transporter and embassy, then click Start
Virgo Offline will start uploading each photo and import generated E-number for the passport At the end of operation, a success message box will show
Method 2: Used to upload photos to only one group within a Group Card In main window choose from upper menu (Umrah > Group Card )
The way to select the group to upload photos is done by clicking on Find to review all previously entered groups, selecting the desired group and pressing OK
From upper menu choose (MOFA > Upload Photos)
Photos Upload window will appear In Photos window continue same steps as described above
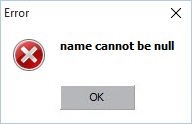
Possible Error messages: -Name cannot be null
You must enter a case name and click Add button.
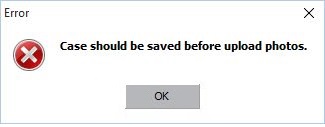
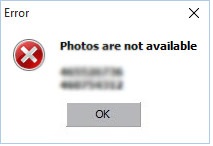
-Case should be saved before upload photos -Photos are not available That message indicates that specified photos were not found at default folder. You must make sure that all required photos are stored in Virgo Offline Photos folder (By default located in: D:\Virgo\VirgoOffline1438\Photos) | |
|
|