|
Labels design
|
|||||||||||||||||||||||||||||||||||||||||||||||||
|
Labels design
Virgo Offline allows designing and printing many labels and reports. You can also design your label in easy way and short time. For instance, we will make an ID card (carnet) Dimensions are: width = 9 cm (90 mm), Height = 6 cm (60 mm)
Steps for designing the label To design lables , From the enterface ,click on Printing & Operations .
Name the Case ,then insert the passports,groups you want to print Embassy Report for .
Mark the Group or the passports you want to insert and click select.
Note: You can merge more than group within the same Case by choosing the option to Insert Group again and select the desired group
After inserting the passports and groups click Add to save the case
Note: Return to the case again by clicking Find case, select the case, and click OK
Note: you cannot add same group/passport twice in a group. Enter Settings tab Select Label path (for instance anything) then click Design Label
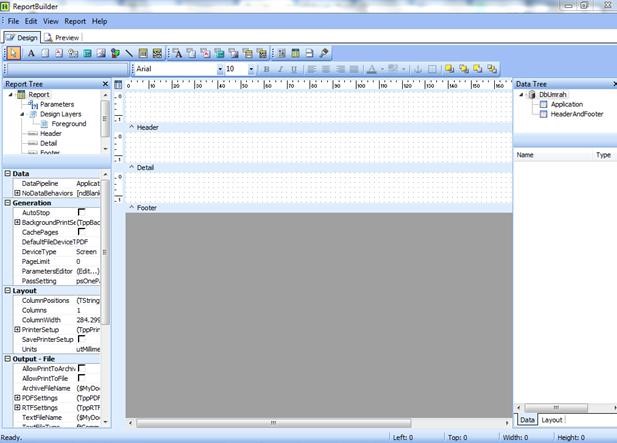
“Report Designer” window will show
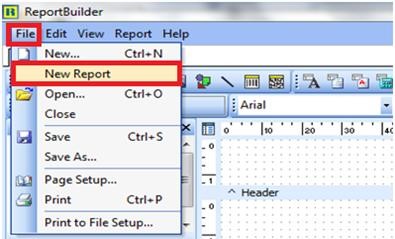
From menu choose (File > New Report)
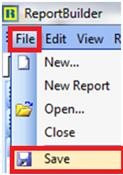
Save the new report by (File > Save as)
Choose save location inside Labels folder (inside your country folder) (D:\Virgo\VirgoOffline1437\Reports)
Note After every step done you should make a save Click menu (Report) and choose to hide title, summary, header and footer There will be only detail section in the report body
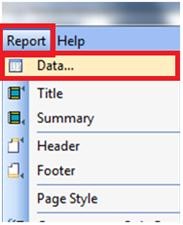
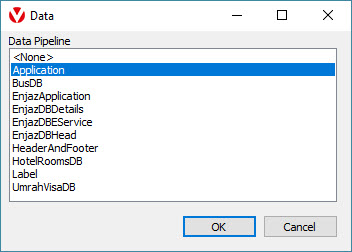
From menu choose (Report > Data) then choose (Application) and click OK
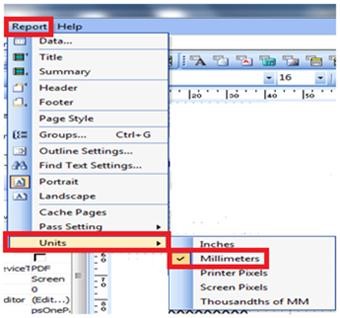
From menu choose (Report > Units > Millimeters)
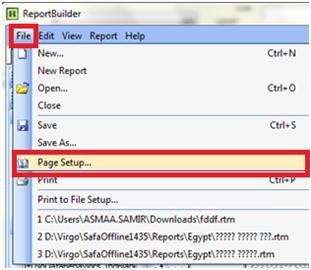
From menu choose (File > Page Setup)
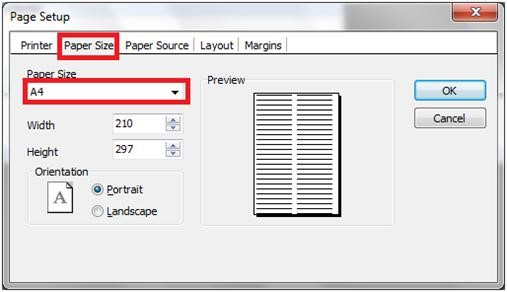
In “page size” tab choose paper size=A4
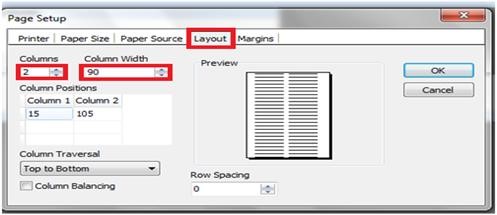
In “Layout” set columns to 2 and width to 90 Then click OK
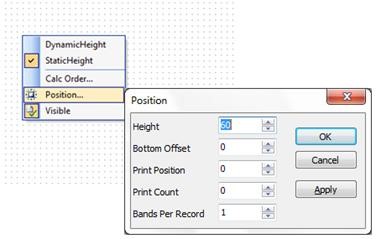
Note You can choose to add more columns to design page To set Label height right click in details section and choose position then set Height=60 and click OK
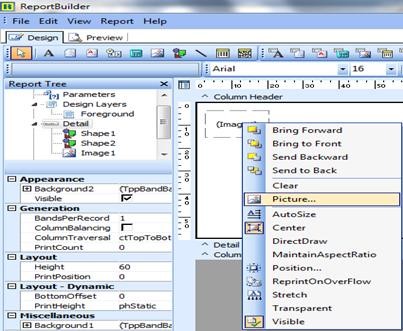
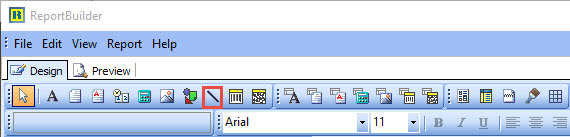
Click image icon to add your company logo (logo image dimensions can be adjusted in Photoshop editor)
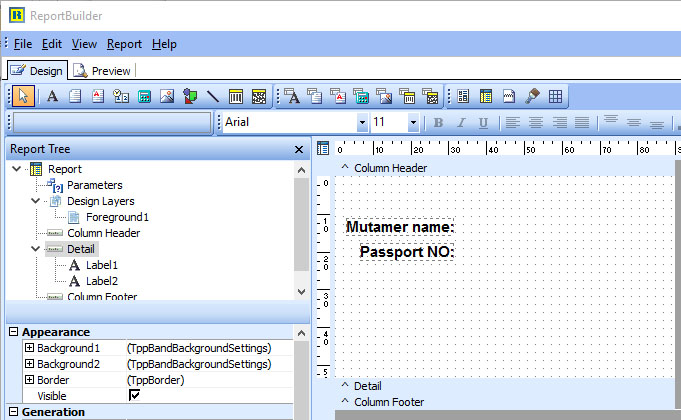
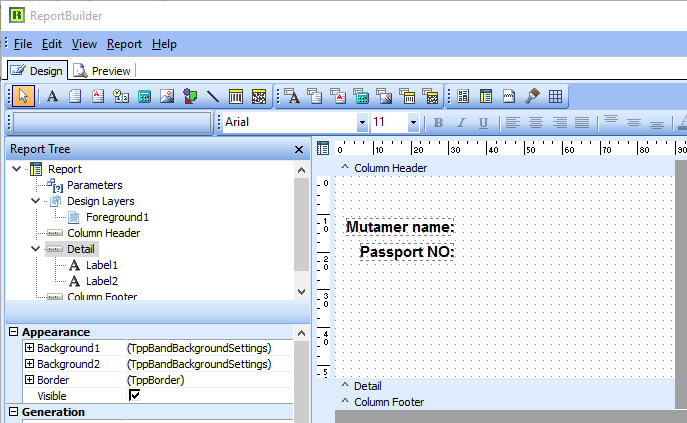
Adding static text Click Label icon then click anywhere in the design to add a text label then edit font, size and color of this text Enter headlines as shown
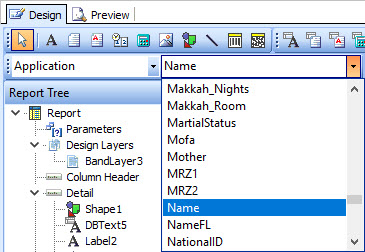
Adding dynamic text (from database source) Dynamic text source means text change in every label like Mutamer name Click DBText icon
Choose a source to read from (which is Application table) Choose the data from table: Name
These data fields can be identified in the following matches
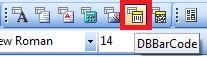
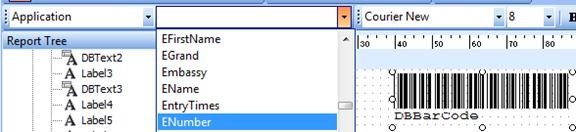
To add Barcode click DBBbarCode icon, click anywhere in the design and select DataField for this barcode (ENumber)
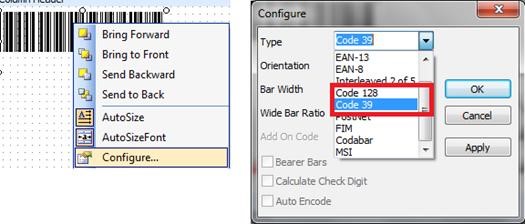
Right click the barcode and choose configure Choose a type: code 128 or code 39, where code 128 is recommended
You can add a line as shown and modify it
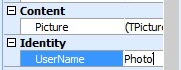
To add Mutamer photo, click image icon
Then in UserName field write “Photo”
And the Mutamer photo will add After finishing design of our label we should save it from menu and close Report Builder and click Refresh button in Settings tab in Case window to show the new design in list
Note label report must be saved in default folder for your country (e.g. D:\Virgo\VirgoOffline1437\Reports\UK\Labels)
You can copy report file you made to another Virgo Offline application instance | |||||||||||||||||||||||||||||||||||||||||||||||||
|
|
|||||||||||||||||||||||||||||||||||||||||||||||||